If you have a transaction file that doesn't fit any of our presets, don't worry! Capitally allows you to create your own one right in the app.
You can import transactions, prices, assets, or accounts from any data sourcewithout having to prepare them anywhere. No need for intermediary files. Set it up once, and then reuse it whenever needed.
This guide will walk you through the process.
Step 1: Open the File
Open your file on the import page. We support CSV, XLS, XLSX, XML and JSON files. Plus you can paste any tabular, XML or JSON data.
Click the Import any data to start the process.
Ensure it loaded correctly and pick data range if needed. By default all rows are included and first row is used as a header with column names, but you can easily change that by clicking on the From here, To here and Header buttons.
If your data file needs more preparation, click the cog icon in the lower-right corner to access additional options, such as choosing an Excel sheet, special character encoding, replacing header names, and more.
Your data does not leave your device
It's worth noting, that whatever file you drop on Capitally it will always be handled locally. It doesn't have to be sent to our servers or elsewhere. Plus the transactions that you decide to import out of it will be encrypted.
Step 2: Tell us what to do with it
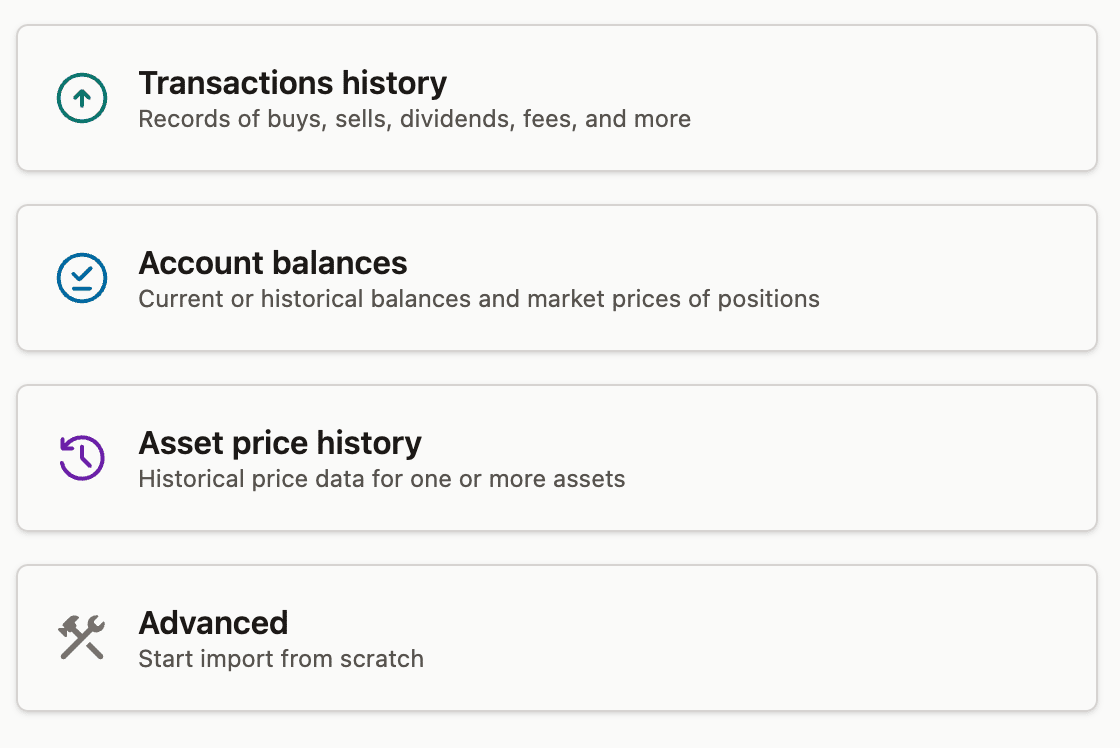
On the next screen, let us know what this data is about.

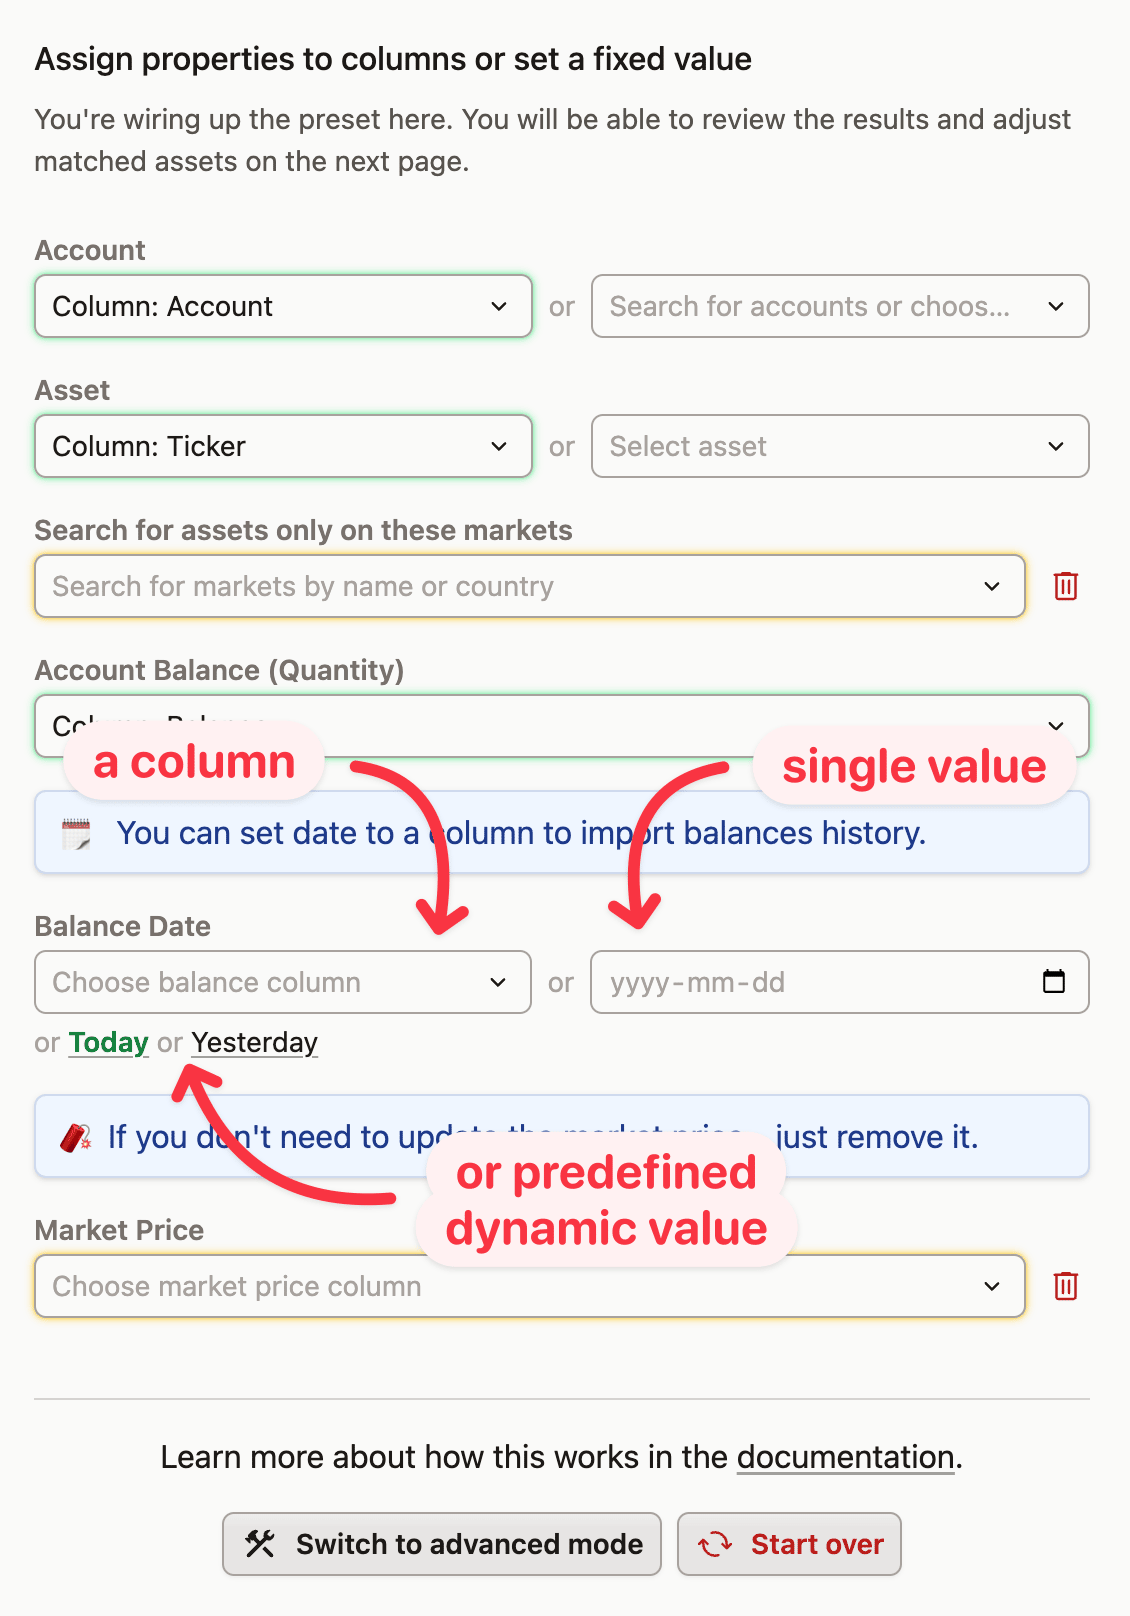
We'll then ask you to match the data columns to transaction properties. Depending on the data provided, we might be able to match most properties ourselves. Just verify the list, select a data column, or choose a single value for all rows. You can also delete properties you don't plan to import by clicking the trash can icon, but remember, that some are required.

See the Transaction Properties Reference for details about particular properties.
Simple mode
What you see above is called the Simple mode. If your data is more complex, like requiring conditional handling, you can always switch to Advanced mode.
Note, that you never loose anything when switching between modes - the interface simply gives you more or less options to choose from.
Transactions History template
If you want to quickly import multiple transactions without matching the columns, just use the below spreadsheet template.
- Clone the spreadsheet or create your own with similar column names,
- Fill the spreadsheet with your data,
- Copy or save to a CSV file,
- Import to Capitally with
Import any data, - Choose
Transactions historyfrom the list.
Filling all columns is not mandatory!
You don't need to include all columns in the spreadsheet. You can leave them empty and select a single value for all rows in the import interface, or ignore them altogether.
For example, to backtest a portfolio - just enter the cash amount bought or sold in the value column, and remove Quantity and Price columns (in .
Step 3: Review the items to be imported
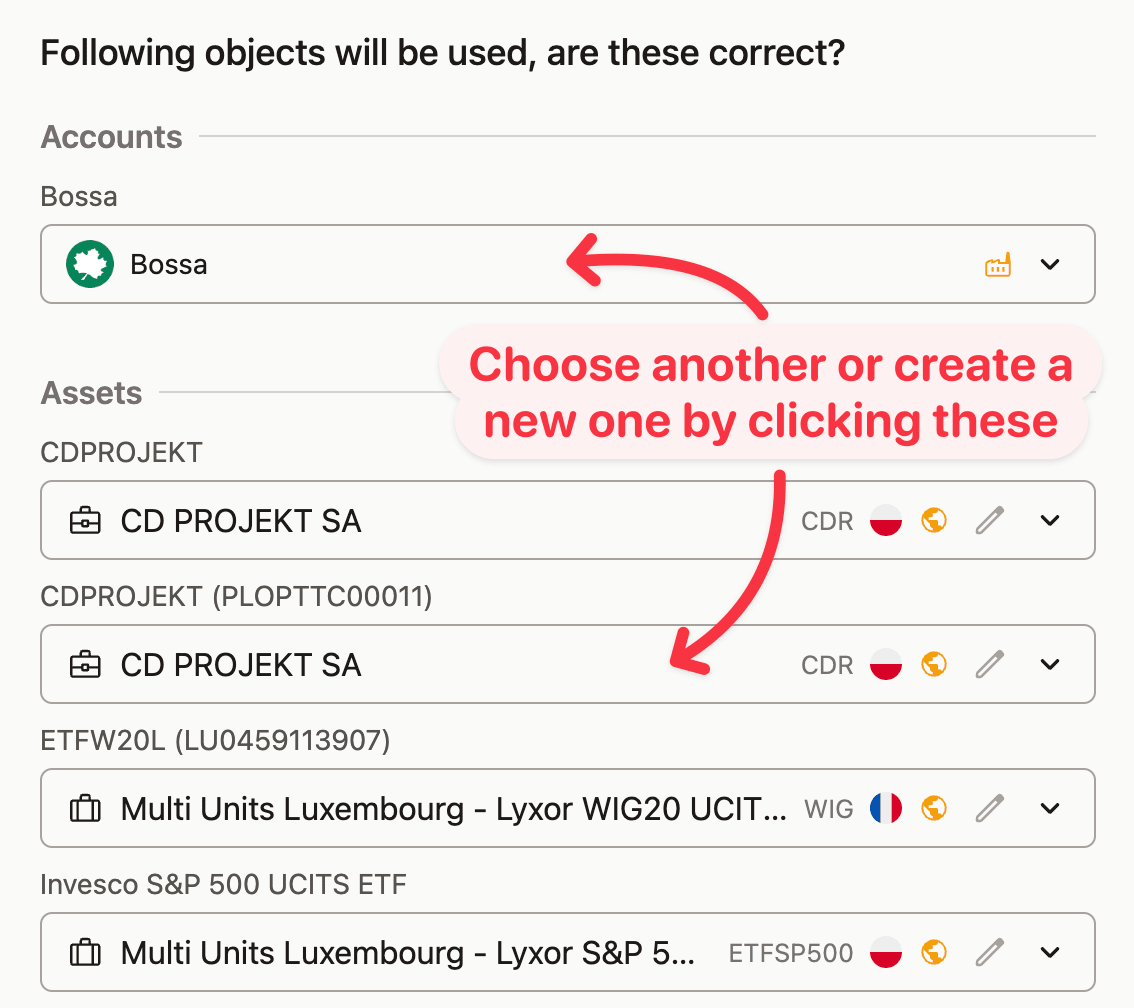
On the next screen we'll show you the accounts, assets, currencies or markets that we found for your data. Review the list, correcting any wrong guesses and filling the blanks.
You can manually search for correct symbols or create new items right in the selection dropdown.

Missing market symbols
If you can't find a symbol that is actively traded on one of the markets that we support - please let us know through support@mycapitally.com and we'll do our best to add it.
If you don't want to import a certain transaction - just change it's Status. Some of the transactions can be already ignored - either because they're not supported, or they're already imported - you can check the reason by hovering on the info icon next to status.
You can update the status of multiple rows at once by selecting them and changing the value on any of the rows.
Additionally, the rows can be sorted by clicking on the column headers for easier review.
Step 4: Review the account balances
On the last screen you can verify if the account balances are what you expect. If no - just go back to the previous screen and make amendments. If yes - click Import to accept the changes.
We'll ask you to save the preset for later reuse and you're done. The next time you will be importing similar data, just reuse the preset and import it in seconds.
Undoing the import
You can undo the whole import if you spot any issues later on. Either from the toast that's shown right after the import, or later on from the top-right menu.